I went on a major price-checking expedition to Aldi today, and I'm just going to say it: Aldi is awesome. When I need something basic for cooking and don't have the time or energy to find sales or coupons or drive all the way to Meijer (which is also pretty amazing, by the way) to get it, I just go to Aldi, where a good deal is almost guaranteed to be had. My mom, who has to keep three high school- and college-age boys from starving to death, loves Aldi. My mother-in-law, who knows what words like prosciutto and quinoa mean, loves Aldi. I love Aldi. You should love Aldi. And don't start whining about how you have to bring your own bags or use a quarter to get a shopping cart. Those cloth bags can carry more bottles of Riesling and balls of cheese than a wimpy plastic bag any day. And the excitement of finding a stray cart and getting a free quarter out of the deal is beyond compare (okay, maybe that's a bit of an exaggeration).
Anyway, since I spent all that time writing down prices for random products (without buying a single item, I might add), I thought I might as well list them here. Actually, I'm planning on setting up a permanent page where I can list the best prices I find on various foods that aren't regularly available at the co-op; I suppose this is as good a place as any to begin. So here you have it. Some of the things were on sale, and some of them are seasonal. And since I was mostly trying to get ideas for an upcoming Christmas party, my list is a little heavy on the cheese and crackers. Just look at all that awesomeness.
Apple cider, 1 gal.: $2.99 (seasonal)
Avocados: $.49 (sale)
Biscuits, 30 oz. (four cans): $1.99
Biscuits (jumbo), 16 oz.: $1.29
Bouillon cubes, 3.25 oz.: $1.49 (seasonal)
Bread crumbs (plain or Italian), 15 oz.: $.89 (seasonal?)
Butter (salted or unsalted), 1 lb.: $1.89 (sale)
"Butter" spread (tub), 15 oz.: $.99
Cheese ball, 10 oz.: $2.29 (seasonal)
Cheese, blue, feta, or Gorgonzola crumbles, 5 oz.: $1.99
Cheese, Brie, 8 oz.: $2.99
Cheese, goat (log), 4 oz.: $1.99
Cheese, mozzarella (fresh log), 8 oz.: $2.69
Cheese, Parmesan or Parmesan-Romano (not the fresh kind), 8 oz.: $2.39
Cheese, ricotta, 15 oz.: $1.69
Cheese spread, 14 oz.: $2.99 (seasonal)
Cheese, Swiss (block/chunk), 8 oz.: $1.99
Chicken, boneless skinless thighs or breasts (frozen), 3 lb.: $5.99
Chocolate chips (semisweet, mini, milk, etc.), 12 oz.: $1.69
Chocolate flavored syrup, 24 oz.: $1.39
Clementines, 5 lb.: $3.99
Cooking spray: $1.29
Crackers ("Cheez Its"), 9 oz.: $1.29
Crackers (fancy/party assortment), 13 oz.: 2.49
Crackers ("Triscuits"), 9.5 oz.: $1.39
Crackers ("Wheatables"), 9-10 oz.: $1.29
Cranberries, fresh, 12 oz.: $.49 (seasonal; sale)
Crescent roll dough, 8 oz.: $.99
Honey, 24 oz.: $4.49
Hummus, 8 oz.: $1.69
Hummus, party quartet (four flavors), 20 oz.: $3.99 (seasonal)
Olive oil (virgin), 16.9 oz.: $2.99
Olives, canned (large), 6 oz.: $.99
Pepperoni, 8 oz.: $1.99
Phyllo shells (mini), 12 count: $1.49 (special buy)
Pita chips (various flavors), 9 oz.: $1.99
Pumpkin, canned, 15 oz.: $.99 (seasonal)
Rice, Uncle Ben's long grain & wild, 6 oz.: $1.79 (special buy)
Sausages, cocktail, 14 oz.: $2.49
Shrimp, medium cooked (frozen), 1 lb.: $3.99
Shrimp, medium raw (frozen), 1 lb.: $4.99
Tortellini (refrigerated), 9 oz.: $1.69
Vegetables, Asian stir fry (frozen), 37 oz.: $3.49

Wednesday, November 30, 2011
Rustic Herb Bread

During college, I used to spend a night or two every week with some good friends who were willing to give up a room in the basement for me. My excuse was that the 15-minute drive from their house to school was much better than the 35-minute drive from my house, especially when bad weather and 8:00 classes were involved. It had absolutely nothing to do with holding their adorable baby, snacking on the world's best apple pie, watching "Lost" until late into the night, or eating meals featuring such deliciousness as Rustic Herb Bread. Nope. I just wanted to be a safe commuter.
Rustic Herb Bread (based on this recipe)
Yield: 1 nine-inch loaf
Time: 30 minutes
2 cups flour
1 cup shredded mozzarella OR cheddar (I prefer mozzarella)
1 T. sugar
2 tsp. baking powder
1/2 tsp. baking soda
1/2 tsp. salt
1/2 tsp. rubbed thyme
1/2 tsp. dill weed
3 T. cold butter
1 egg
1/2 cup plain yogurt OR lowfat sour cream
1/2 cup milk
Preheat oven to 400 F. Combine first eight ingredients; cut in butter until mixture resembles fine crumbs. Whisk together remaining ingredients; mix into dry ingredients until just moistened. Spread into a greased 11" x 7" or 9" round pan; bake for 20-25 minutes.
****
P.S. On a completely unrelated note, Meijer still has the 5.6 oz. packages of blackberries on sale for $.50. Considering they cost $4 at Kroger, I am definitely stocking up (again) and will be sharing at least one tasty (and easy!) recipe.
Saturday, November 19, 2011
Co-op Cooking, 1940s Style
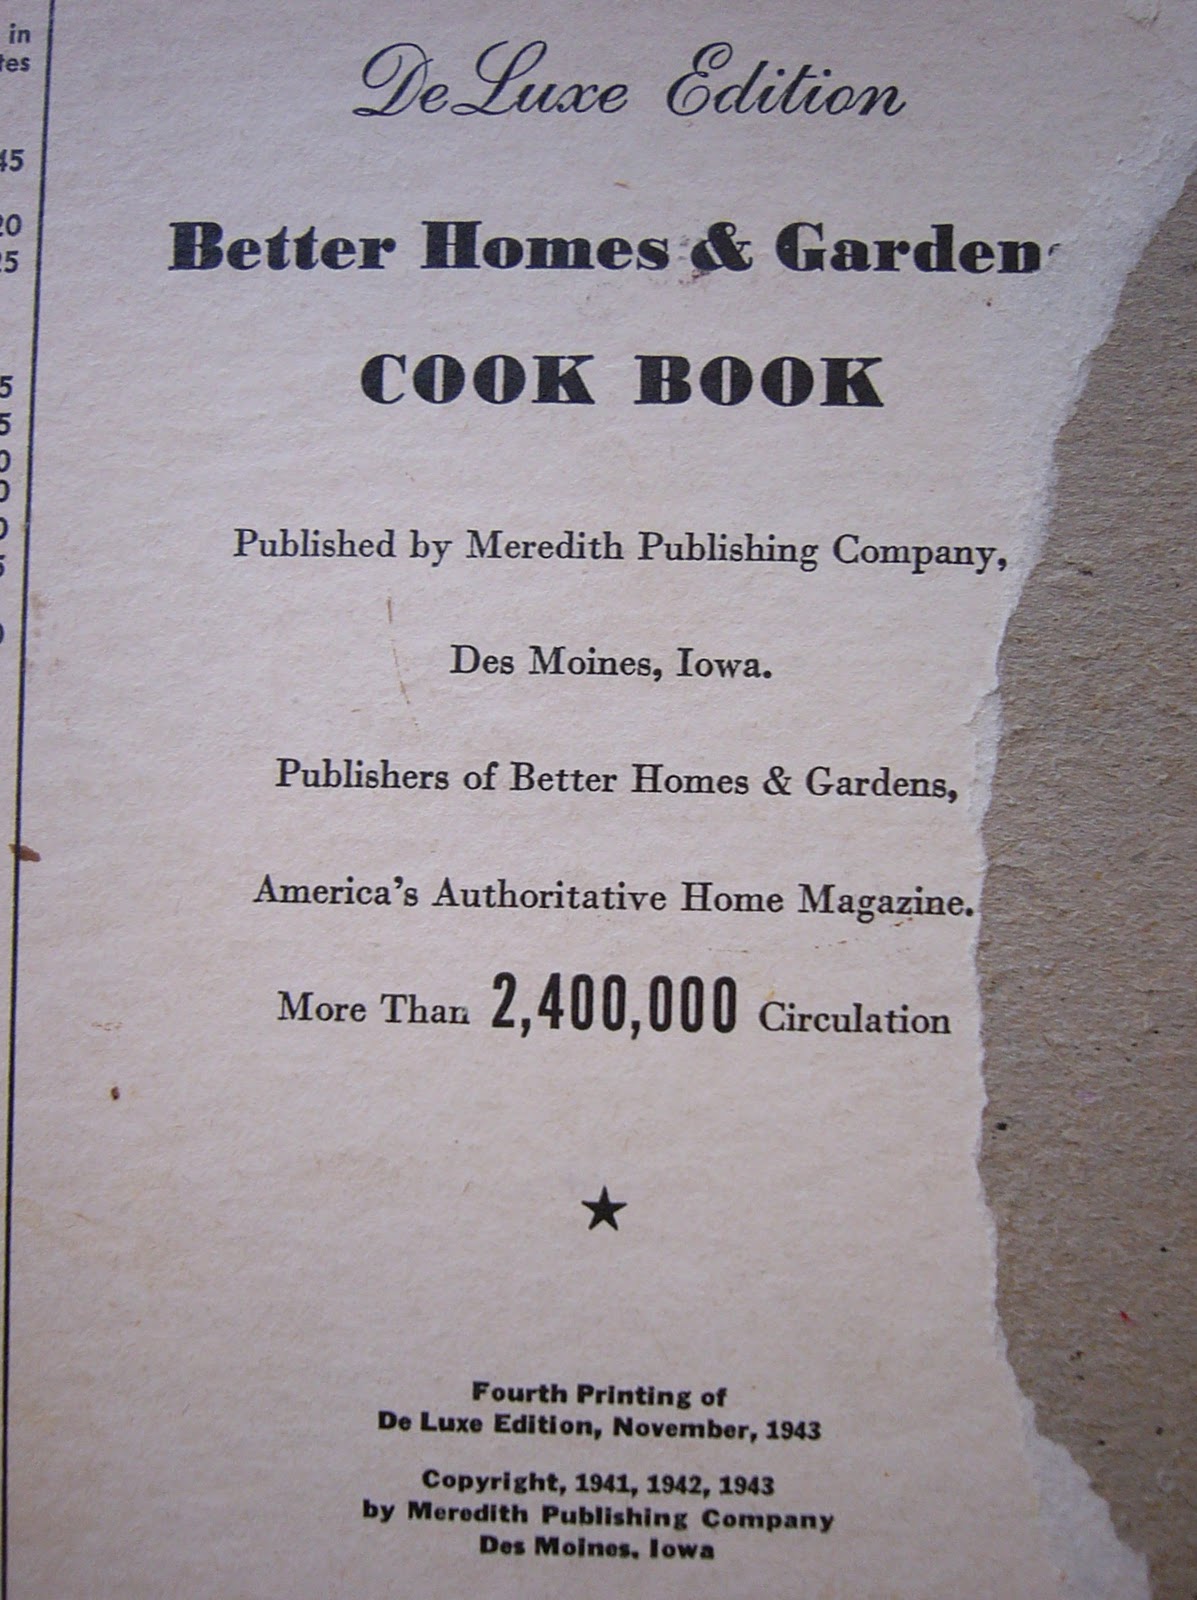
This week I found a very well-loved 1943 edition of the Better Homes & Garden Cook Book at the co-op. Since I love books, cooking, and old things, the dilemma of deciding whether or not to bring home something I'll probably never use and will just have to pack in a few months was quickly solved.

It was the "DeLuxe" edition, after all.

The cookbook opened with a special section describing how cookery in wartime America was almost a breeze. Apparently, shortening could solve just about anything, as I discovered in the cake chapter.

I don't know about you, but these beef roll-ups look anything but "grand eating."

There was an entire chapter on leftovers.

I love the words and phrases used in these cookbooks. Where else would you find "Oh Boy" Waffles?
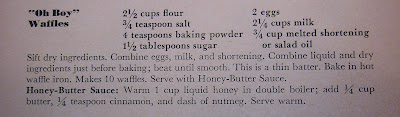
I think this stuff must get its name from all the sugar and heavy cream. Wow.

And don't forget to "thoroly" scrub your fresh clams.

There were some slightly unusual recipes:

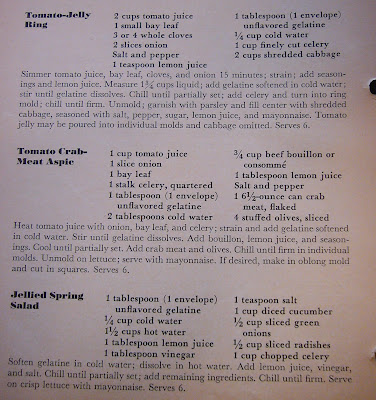
I don't quite understand the fascination with jellied meats, but there were quite a few of them. And loafs. Lots of loafs. (Or is it loaves?)

The meat cut illustrations were actually pretty nice; don't be surprised if one or two of them end up framed in my kitchen. (I'm a nerd; what can I say?)

Then we come to the salad section, complete with a full-color photograph.

You have lots of options--the Salad Plate, the Salad Bowl, the Salad Platter...

Somehow, I was envisioning mandarin oranges and crushed Ramen noodles for this one:

More jellies and an aspic. *shudder*
The soup chapter featured a list of Quick Cooking-esque recipes, 1943 style.

And now we come to my favorite chapter, Table Setting and Special Occasion Menus. In case you didn't know, "a mirror with a bowl of flowers in its center has grown trite." Apparently Martha Stewart didn't get that memo.

I love this labeled diagram and the fact that tomato juice is the first course.


Wondering what to eat after an evening out? How about in the middle of the night?

Now I know exactly what to do with that lovely terrace. I just need to find a "huge wooden or pottery bowl" and pick up some caviar for a little "swank."

This one is just ridiculous--how many hobos do you know who use silver? Or lapkins?

I really didn't plan my wedding reception properly at all. There was no jellied tomato salad in sight, and I completely forgot the potato chips.

And, in case you still need some help in planning next week's feast, here you have it. "Traditional, with modern touches." Don't forget the mandatory processed tomato product.

Besides the cookbook itself, there were a handful of advertisements and brochures tucked between the pages, most of them from the 1950s. You could order these recipes for a quarter.

I've never seen a glamorous meat loaf before, but I'd love to try one.


And finally, some more Thanksgiving inspiration:

I think I'll just stick with a nice brine and some bread stuffing.

It was the "DeLuxe" edition, after all.
The cookbook opened with a special section describing how cookery in wartime America was almost a breeze. Apparently, shortening could solve just about anything, as I discovered in the cake chapter.

I don't know about you, but these beef roll-ups look anything but "grand eating."

There was an entire chapter on leftovers.

I love the words and phrases used in these cookbooks. Where else would you find "Oh Boy" Waffles?

I think this stuff must get its name from all the sugar and heavy cream. Wow.

And don't forget to "thoroly" scrub your fresh clams.

There were some slightly unusual recipes:


I don't quite understand the fascination with jellied meats, but there were quite a few of them. And loafs. Lots of loafs. (Or is it loaves?)

The meat cut illustrations were actually pretty nice; don't be surprised if one or two of them end up framed in my kitchen. (I'm a nerd; what can I say?)

Then we come to the salad section, complete with a full-color photograph.

You have lots of options--the Salad Plate, the Salad Bowl, the Salad Platter...

Somehow, I was envisioning mandarin oranges and crushed Ramen noodles for this one:

More jellies and an aspic. *shudder*

The soup chapter featured a list of Quick Cooking-esque recipes, 1943 style.

And now we come to my favorite chapter, Table Setting and Special Occasion Menus. In case you didn't know, "a mirror with a bowl of flowers in its center has grown trite." Apparently Martha Stewart didn't get that memo.

I love this labeled diagram and the fact that tomato juice is the first course.

Next, the menus. There were two whole pages of bridge luncheon menus alone. Even the guys were included.

Wondering what to eat after an evening out? How about in the middle of the night?
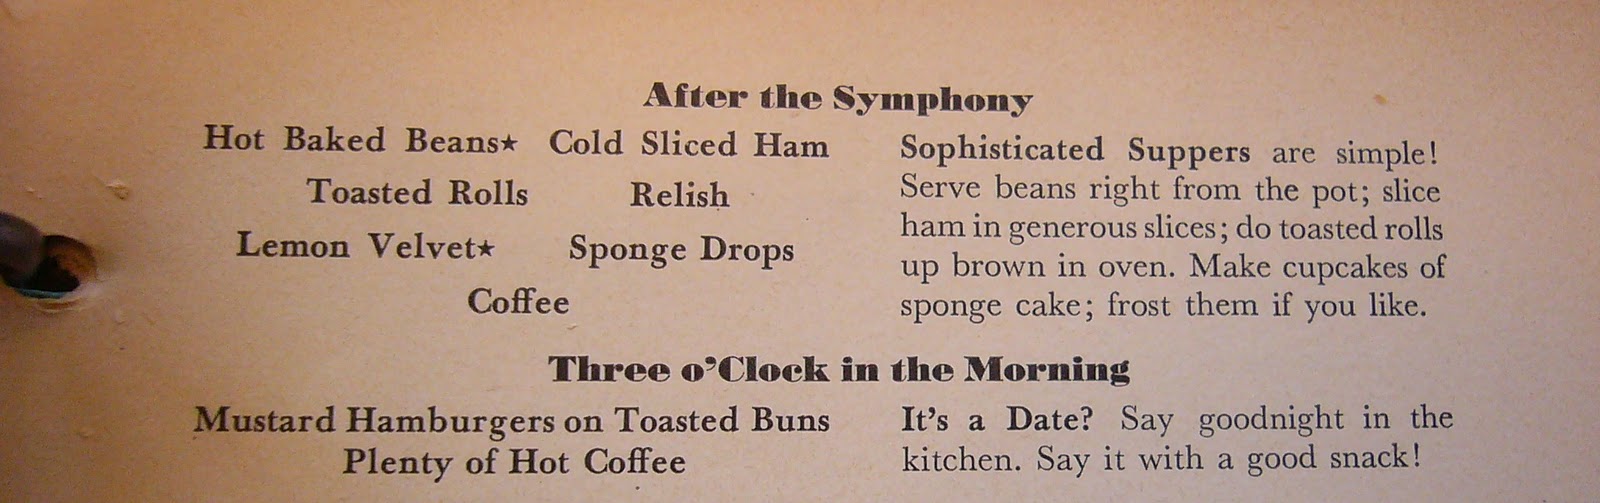
Now I know exactly what to do with that lovely terrace. I just need to find a "huge wooden or pottery bowl" and pick up some caviar for a little "swank."

This one is just ridiculous--how many hobos do you know who use silver? Or lapkins?

I really didn't plan my wedding reception properly at all. There was no jellied tomato salad in sight, and I completely forgot the potato chips.

And, in case you still need some help in planning next week's feast, here you have it. "Traditional, with modern touches." Don't forget the mandatory processed tomato product.

Besides the cookbook itself, there were a handful of advertisements and brochures tucked between the pages, most of them from the 1950s. You could order these recipes for a quarter.

I've never seen a glamorous meat loaf before, but I'd love to try one.


And finally, some more Thanksgiving inspiration:

I think I'll just stick with a nice brine and some bread stuffing.
Wednesday, November 16, 2011
Cheesy Brat Casserole

Comfort food (kuhm-fert food) n. 1. simple, home-style food that brings comforting thoughts of home or childhood. 2. Cheesy Brat Casserole.
This stuff is amazing. It's the ultimate potluck dish. Potatoes? Check. Cream of mushroom soup? Check. Canned veggies? Check. Loads of melty cheese? Of course. Toss in a pound of bratwurst and you've got the casserole of your dreams, all co-op supplied, I might add.
I was given this recipe along with a wedding gift from a friend at my home congregation. It's actually called "Cheesy Brat Stew," but since it's nothing like a stew and everything like a casserole, I'm calling it a casserole. You can call it whatever you want--just make it.
Cheesy Brat Casserole
Time: 1 hour, 15 minutes
Serves: 6
6 fully cooked bratwurst or Polish sausage (1 lb.), cut into 1/2-inch pieces (I used a package of Cajun brats, which added a nice kick, and I broiled them to get them all browned and beautiful)
4 medium potatoes, cooked, peeled, and cubed (I used red potatoes and left the skins on; I cooked them in the microwave for about10 minutes, turning halfway through)
1 (14-16 oz.) can cut green beans, drained
1 (10 3/4 oz.) can cream of mushroom soup
1 cup (4 oz.) shredded cheddar cheese
1 small onion (or half a large onion), chopped
In a 3-quart casserole, combine all ingredients. Bake, covered, at 350 F for about 45 minutes.
Can be made ahead and put in the refrigerator.
Tuesday, November 15, 2011
Chicken-Orzo Soup

I think my kitchen has been invaded by soup gnomes. My recipe binder has a giant section of tasty soups, but no matter how quickly I add a new page, it gets filled right up with new recipes. No matter what cookbook, magazine, blog, or website I read, some delicious soup jumps out at me and demands to be tasted. Last fall I made soup almost every day for a month and I still didn't get through all of them. But since 1. soup is amazing and 2. soup season lasts half the year or more, I've decided it's a good problem to have. So I went ahead and tried this one.
I found some orzo at the co-op a while ago, so I followed the recipe pretty closely. I think it would work fine with that tiny star-shaped pasta that has been hogging the shelf for the past couple of weeks, though. Of course, I used Brakebush chicken (the plain, non-breaded kind), and I had some fresh parsley left over from my stuffed peppers, so I used that too. The result: a pretty simple chicken noodle soup with a twist. I will probably be making this again; that is, once I get through the ten other new soup recipes waiting in line.
Chicken-Orzo Soup
Time: 45 minutes to 1 hour
Serves 4
4 cups (32 oz.) chicken broth
1/2 cup uncooked orzo or stelline
2 tsp. olive oil
2 carrots, coarsely chopped
1 celery stalk, coarsely chopped
1/2 onion, diced
3/4 pound plain, non-breaded Brakebush chicken, cut into 1/2-inch cubes
1 1/4 cups water (add 1 cup more if you like a thinner soup)
1/2 cup fresh parsley, chopped
1/2 tsp. dried thyme leaves
4 cups spinach, torn into bite-sized pieces
1 T. fresh lemon juice
salt
black pepper
1. Bring 1 3/4 cups broth to a boil in a medium saucepan. Add orzo or stelline; cook 10 minutes or until done. Set aside.
2. While pasta cooks, heat a large saucepan over medium heat. Add oil to pan; swirl to coat. Add carrots, celery, and onion; cook 3 minutes, stirring frequently. Add chicken and cook 1 minute. Stir in remaining 2 1/4 cups broth, 1 1/4 cups water, parsley, and thyme; bring to a boil. Reduce heat; cover and simmer 10-15 minutes or until vegetables are tender. Add orzo, spinach, juice, and salt and pepper to taste; simmer 1 minute.
Sunday, November 13, 2011
Enchilada Casserole

This is my husband's favorite meal. Ever. Well, except for Shrimp Etouffee, which is so time-consuming and labor-intensive that I only make it once a year for his birthday. The hardest part about Enchilada Casserole, on the other hand, is remembering to make it a day in advance (which is harder than it sounds, at least for me). I can also never remember the order for layering the ingredients, but this time I actually got it right--without calling my mother-in-law, I might add. Success!
This recipe calls for some non-co-op ingredients, but they aren't too expensive. This recipe also freezes well, so if you're only cooking for a couple of people (like me), you can make it in two pans and freeze one for another meal. Cheese is on sale this week at Kroger/Scott's ($2.99 for 16 oz. shredded or chunk), so I stocked up (the shredded stuff freezes well; the chunk, not so well). Target has the best prices for canned enchilada sauce (regularly $.99 for 10 oz.) and diced green chilies (regularly $.57 for 4 oz.)--both in the Mexican food section. Kroger's enchilada sauce is the same price, but the chilies are more expensive. Aldi doesn't carry either, but they do have the cheapest tortillas ($.99 for 10). I saw tortillas at the co-op last week, too. I usually get olives from Aldi, if I can't find them at the co-op. All that to say that even if you have to buy several ingredients, it's still under $5 for 8 people. Not too bad for a bubbling, cheesy, gooey pan of comfort food. Even if it's not terribly authentic, I still think my Hispanic grandpa might have approved.
Enchilada Casserole (from the kitchen of my mother-in-law)
Serves: 6-8
Time: 1 1/2 hours + 24 hours
1 lb. ground beef
1 green bell pepper, chopped
1 onion, diced
2 T. chili powder (or 1 T. if you're scared of a little heat)
1 (10.5 oz.) can cream of mushroom soup
1 (4 oz.) can diced green chilies
1 (10 oz.) can red enchilada sauce
1/4 tsp. garlic powder
1/4 cup chopped ripe (black) olives
1 pkg. 8" flour tortillas (about 6-10)
8 oz. grated cheddar cheese
Combine beef, pepper, and onion in a large skillet; brown and drain. Remove from heat. Add next 6 ingredients (through olives); stir well. Grease a 9x13 baking dish (or two 8" or 9" round dishes); add alternating layers of tortilla followed by meat mixture, ending with meat. (You should be able to get at least three layers, if you use the meat sparingly. If using a rectangular baking dish, tear pieces of tortilla to fit any "holes.") Top with cheese. Refrigerate 24 hours. Can be frozen. Bake at 350 F for 45 minutes.
Saturday, November 12, 2011
Italian Sausage-Stuffed Peppers

My first experience with stuffed peppers was an amazing concoction of black beans, corn, rice, chicken, and all kinds of tasty morsels crammed into a mountain of poblano peppers, courtesy of my dear husband. Maybe someday I'll tell you all about it. For now, though, you'll have to satisfy yourself with stuffed bell peppers, which aren't so bad either. I found a pair of giant orange ones on clearance at Meijer, but the green ones that are usually at the co-op will work too.
This is another dish that can be modified to suit your tastes (or refrigerator leftovers). My version uses Italian sausage, which already has lots of tasty seasonings in it, but you could substitute ground beef and use whatever herbs and spices you want. You could also use cooked diced potato in place of the rice. The fresh parsley ($.79 at Meijer) adds a nice flavor—the dried stuff can't compete, even though I'm just as guilty as anyone of having a giant shaker of it in my pantry. Oops. Be sure to pull the leaves off the stems before chopping them. The leftover parsley can probably be frozen, if you're not going to use it right away. I haven't tried freezing it yet, though, so don't quote me on that.
Some recipes call for a tomato-based sauce, but I've had some bad experiences lately with using tomato where it shouldn't be (I was just following the recipes, I promise!), so I just put some diced tomato in the filling. Feel free to use some warm pasta sauce if you want a little something extra.
Time: 1 hour
Serves: 2
1/2 pound bulk Italian sausage
1/2 onion, diced
2 large bell peppers (any color)
3/4 cup cooked rice
1/2 cup chopped fresh parsley leaves (I used curly parsley)
1 small tomato, diced (about 1/3 cup)
pinch red pepper flakes
1. Preheat oven to 350 F. Fill a large pot with water (deep enough to cover the peppers) and bring to a boil. Also, cook the rice if you haven't done so already.
2. Prepare the peppers: Cut off the top of each pepper, leaving about an inch around the stem for a “lid” (sort of like a mini Jack-o-lantern). Shake out the seeds and pull out the membranes. If the peppers wobble when placed on a flat surface, remove a thin slice from the bottom; dice for use in the filling.


3. Cook the Italian sausage and onion in a large skillet until sausage is browned and onions are tender, stirring frequently to break up any large pieces. Remove from heat. Add rice, parsley, tomato, red pepper flakes, and any diced pepper pieces from step 2.
4. Carefully add peppers and tops to the pot of boiling water; parboil until just tender, 2 to 3 minutes. Remove with tongs or a slotted spoon and drain on paper towels. Pack each pepper with filling and replace tops. Place peppers in a baking dish; add just enough water to cover the bottom, about 1/8 inch deep. Bake for 25-30 minutes, until peppers are tender and filling is heated through.
If you have leftover filling, it tastes good all by itself. Just trust me on that one. Or, if you have a lot left (and a highly advanced level of self-control), I'm sure it freezes well. Not that I would know.


Wednesday, November 9, 2011
Twice-"Baked" Potatoes
The thing I love so much about twice-baked potatoes is that you can basically do anything you want with them. If you want to add three kinds of cheese, you can. If you want to add a pound of bacon, you can. If you want to add bacon and ham and cheese and sour cream and butter and more bacon, go for it. Just don't blame me if your arteries explode from all the deliciousness.
I used red potatoes this time because I prefer the flavor, but regular russet potatoes are easier to work with because of their thicker skin. Regardless of the type, leave a quarter-inch or so of the potato in the skin when you hollow it out--it will give the "shell" more stability.
If the potatoes are large enough, one per person plus a vegetable on the side is plenty for a meal. Half a potato works well as a side dish. You could also use several small potatoes and make appetizers.

Twice-"Baked" Potatoes
Serves: 2 (entree) or 4 (side)
Time: 1 hour
2 large potatoes
2-3 T. butter
2-3 T. milk
1/4 to 1/3 cup shredded cheese (I used cheddar)
1/4 cup chopped cooked ham or bacon
1 small green onion, thinly sliced (OR 2-3 T. chives, chopped)
dash pepper
dash paprika
1. Prepare potatoes: Clean with vegetable brush under running water. Remove any eyes. Pierce on both sides with a sharp fork. Microwave in 2-minute increments, turning over each time, until easily pierced with a fork. (Two large potatoes should take about 6-8 minutes.) Cool for 10-15 minutes. Slice in half lengthwise; allow to cool until potatoes can easily handled.
2. Using a spoon, carefully hollow out the potato halves, creating four shallow "bowls." (See note above.) Using a potato masher, combine scooped-out potato, butter, and milk until smooth. Stir in cheese, meat, and green onion or chives. Season with pepper to taste.
3. Spoon mixture back into potato skins. Sprinkle with paprika. Bake in a small cake pan or casserole at 350 F for 15-20 minutes, until heated through.
Variations: Try mixing sour cream into the potato filling for a creamier consistency. Experiment with different kinds of cheeses, including Parmesan or blue cheese. Top with chopped steamed vegetables, such as broccoli, after baking. The possibilities are endless!
Saturday, November 5, 2011
Parsnip Muffins
Yes, really. Don't run away yet.
Despite the fact that I grew up next to a field where parsnips frequently grew in abundance, I think I've only eaten them once in my life. My brothers and I tended to think of them more as toy swords and play food that were left behind after the harvest, and the one time my mom decided to cook them we were more than a bit skeptical. But after watching a Good Eats episode on parsnips and seeing a bin of them at the co-op, I decided to give these muffins a try. I was pleasantly surprised. They definitely have that unique parsnip flavor, sort of spicy and earthy. Still a bit unusual, but the spices and almonds balance out the flavors for a tasty, autumn-y snack.
Now if I can just figure out what to do with the rest of my parsnips...
Parsnip Muffins (based on Alton Brown's recipe)
Total time: 1 hour 15 minutes
Yield: 1 dozen
10 ounces parsnips (about 3 small)
1/3 cup sliced almonds
1 1/2 cups flour
1 tsp. baking powder
3/4 tsp. baking soda
1/4 tsp. nutmeg
1/2 tsp. cinnamon
1/4 tsp. salt
3 eggs
3/4 cup plain yogurt (OR sour cream)
1/4 cup applesauce (OR vegetable oil)
3/4 cup sugar
1. Prepare parsnips: Cut off both ends, peel, and grate with a box grater. Or, if you're like me and prefer to keep your knuckles intact, cut the peeled parsnips into large chunks and chop in a food processor. Either way, you should end up with about 2 1/2 cups.
2. Preheat oven to 375 F. Place the almonds in a single layer in a pie pan and place in oven while it heats. Bake the nuts until lightly toasted, approximately 10 minutes (check them every few minutes; you should also be able to smell them when they're ready). Meanwhile, thoroughly grease or spray a standard 12-cup muffin tin (don't skimp on the grease—the batter is really sticky).
3. Combine next six ingredients (flour through salt) in a medium mixing bowl; mix with a wire whisk. Whisk the eggs, yogurt, applesauce, and sugar in a large mixing bowl until combined. Add the flour mixture and parsnips; fold with a rubber spatula until all of the flour is moistened. (Use as few strokes as possible; too much mixing, and the muffins will turn out rubbery. You should still see some flour lumps in the batter.) Divide the mixture evenly among the muffin cups. Sprinkle the top of each muffin with the toasted almonds. Bake for 20 to 25 minutes or until the muffins reach an internal temperature of 210 degrees F and are golden brown, rotating halfway through baking.
4. Use a small knife to loosen the muffins and immediately remove them from the tin to a cooling rack; cool for 15 minutes. Serve warm. Store completely cooled muffins in an airtight container for up to 3 days.
Subscribe to:
Posts (Atom)